
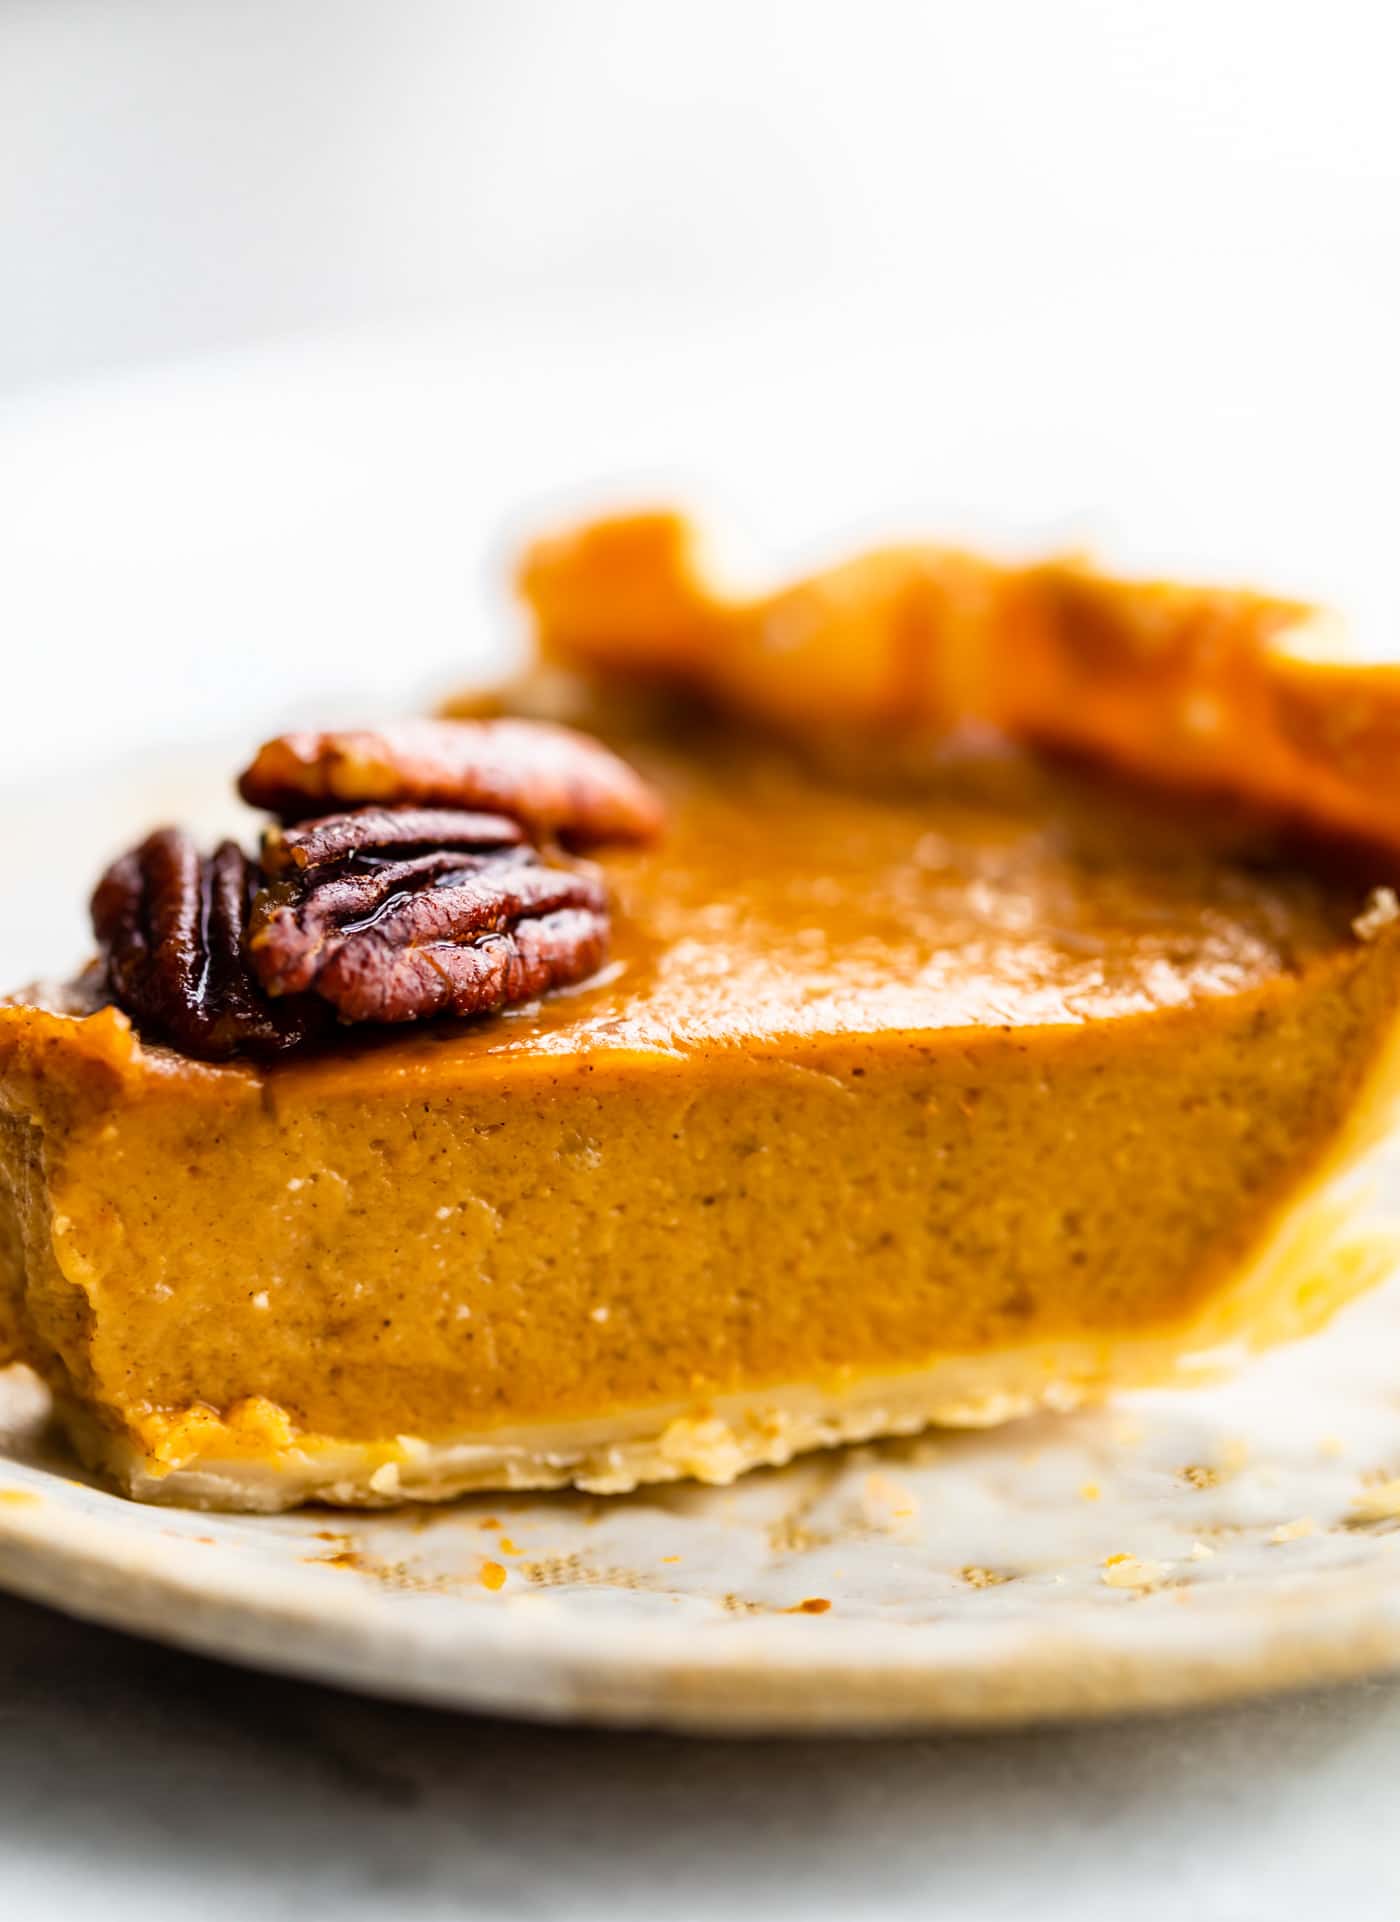
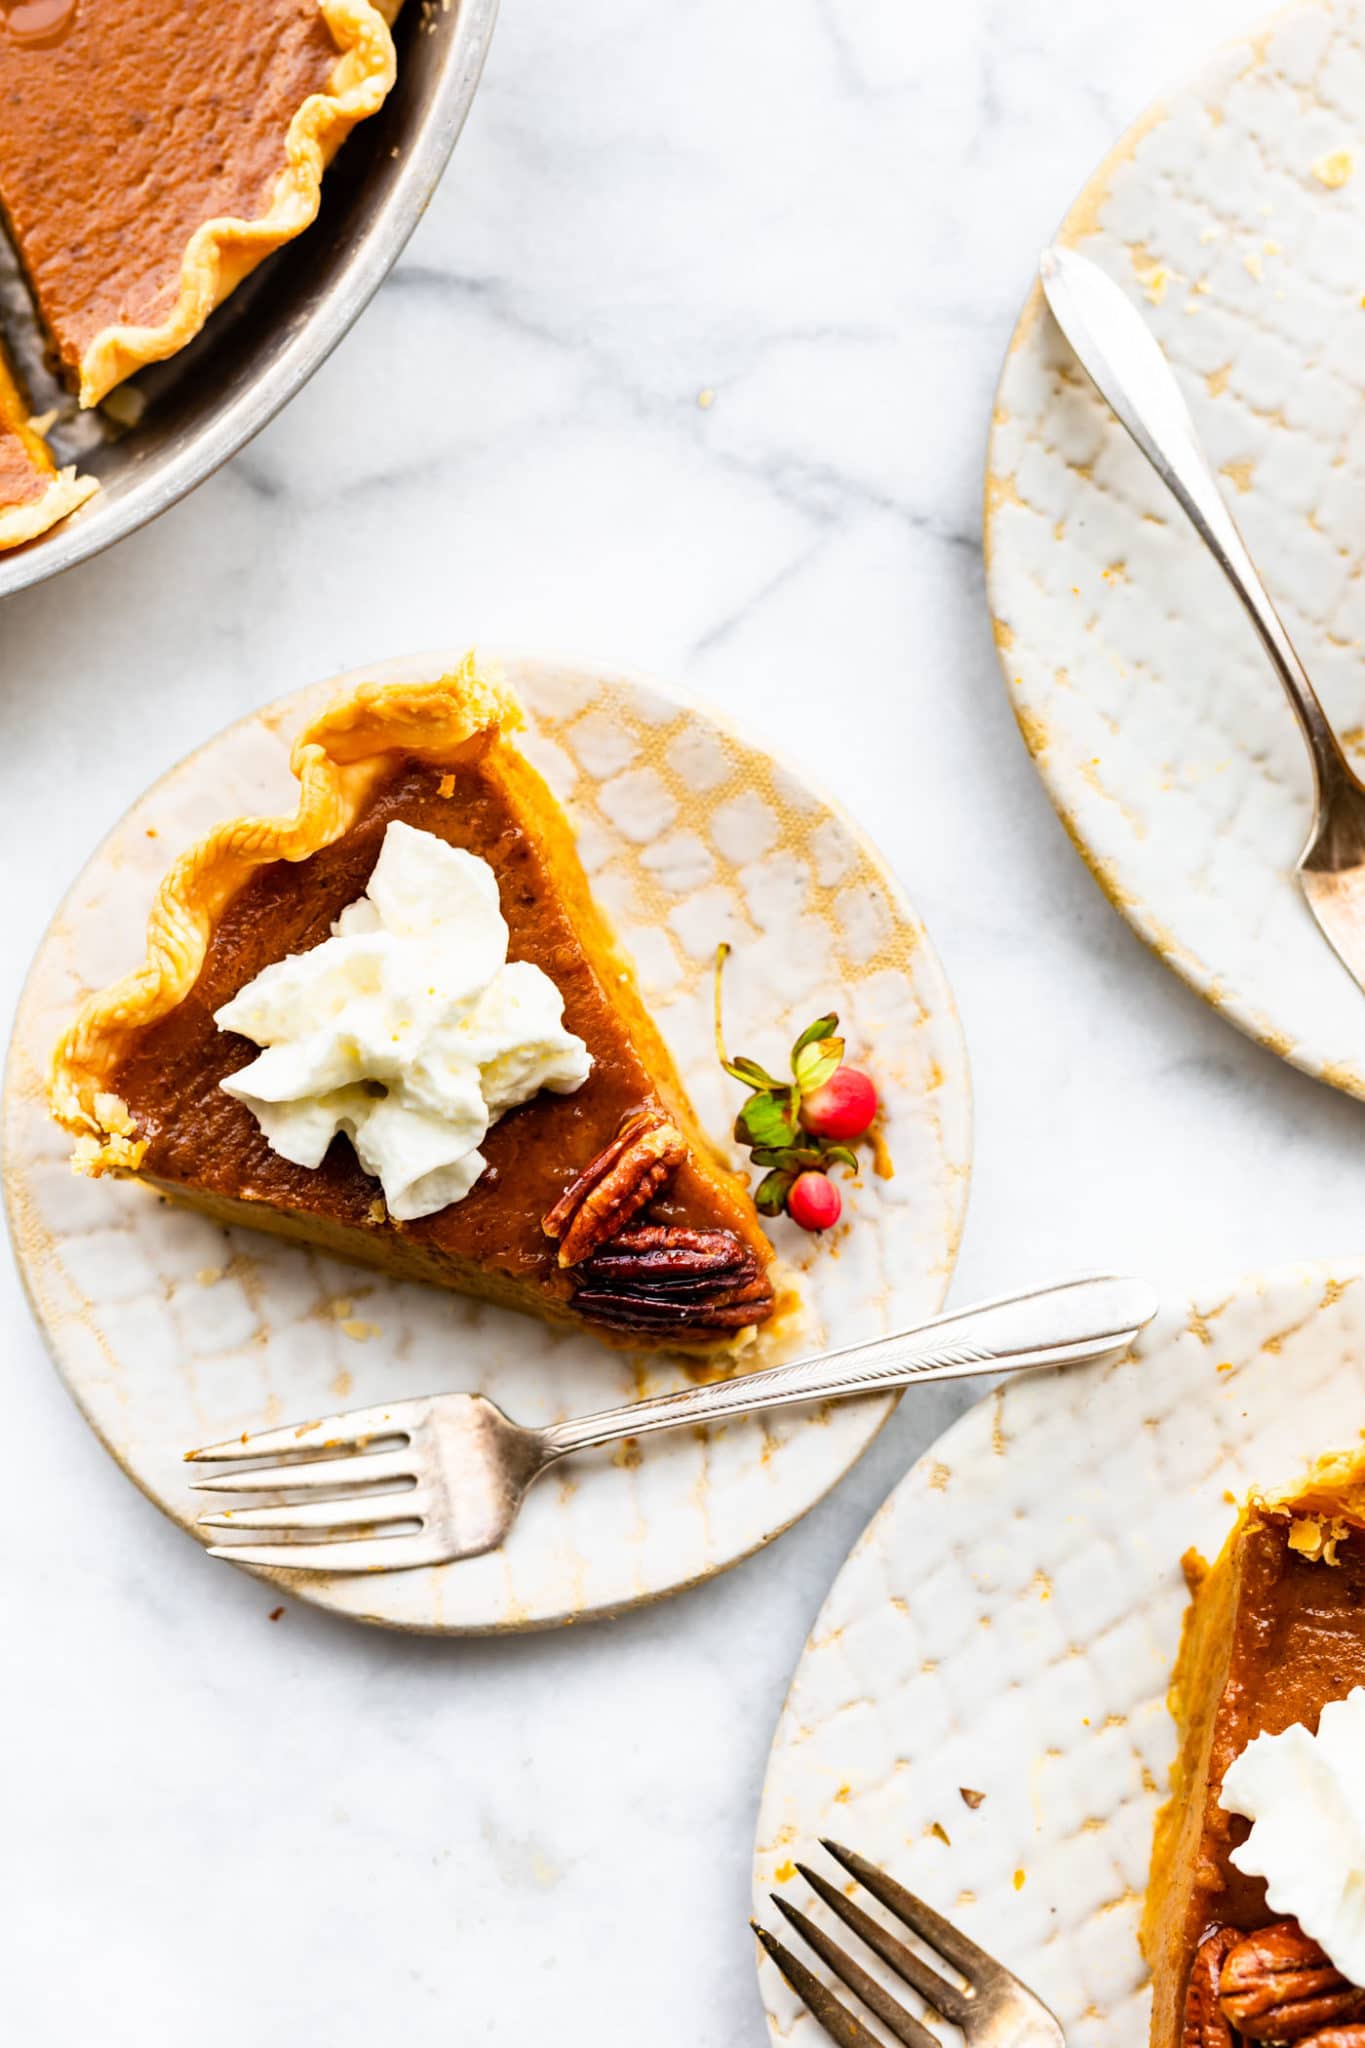
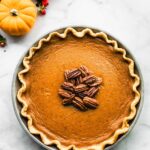
This is the best Gluten-Free Pumpkin Pie you’ll ever taste! Soft, creamy, and easy to make dairy-free, it’s made with simple ingredients for a nutritious recipe that will blow your guests away. Serve it with a dollop of ice cream or whipped cream for the perfect festive treat!

Family Favorite Gluten-Free Pumpkin Pie
Pumpkin pie is a family favorite and one of those non-negotiables for our holidays. I knew I had a high bar to clear with a gluten-free pie my family would approve of. We tested and retested until it was perfect, and your friends and family will love this pie as much as mine does.
We’ve got a super easy gluten-free version for anyone new to gluten-free baking. You can use our homemade gluten-free pie crust or go with store-bought, and you’ll still be amazed at how delicious it turns out.
Helpful Tips Before You Begin
- We’ve tested this pie crust using several different gluten-free all-purpose flours (without xanthan gum) and each turned out a little different. Some are dryer than others and need the extra water and some have a more yellow color vs white. If you have any questions about the flours, please comment below and we’ll do the best we can to answer!
- If you’re short on time or don’t want to prepare crust from scratch use a pre-made pie crust mix or frozen gluten-free pie shell.
- If using a glass pie dish, know that it will heat up slower but more evenly than metal pie tins, and make sure to adjust the baking times as needed.
- To save a bit of time, try grating the cold butter into the flour.
- Your dough will be crumbly at first, but don’t panic! As you work it with your hands it will slowly come together.
- Don’t overmix! You want the dough ingredients to be just combined. In fact, leaving irregular-sized pieces of butter will help create a super flaky dough.
Tip: If you don’t have a food processor
- Use In a large bowl, mix together the gluten-free flour, salt, and xanthan gum. Using a large cheese grater, grate the butter into the flour. Using a fork or dough blender, work the dough until crumbly and mealy. Don’t overwork the batter.
- Evenly sprinkle the ice water in the butter and flour mixture, and use a spatula to mix in between adding the cold water. If the batter feels too dry to shape into a ball, add an additional 2- 3 Tablespoons of ice water, and mix until just combined.
- Form the dough into a single ball, and flatten it into a disk.
Ingredients You’ll Need
Below is an overview of the ingredients needed for this recipe. Please be sure to scroll down to the recipe card below for the complete details!
Gluten-Free Pie Crust
- Gluten-Free Flour – Use a 1:1 all-purpose gluten-free flour, or our homemade gluten-free flour without xanthan gum.
- Xanthan Gum – This helps give the crust structure, making it easier to work with.
- Butter – Use regular butter or plant-based butter. Just make sure it’s cold!
- Granulated Sugar
- Ice Water – Yep, you read that right. Ice water is key to preventing the butter from melting into the flour before it is placed in the oven.
- Egg Wash – This creates the beautiful golden exterior we want and prevents the crust from becoming soggy.
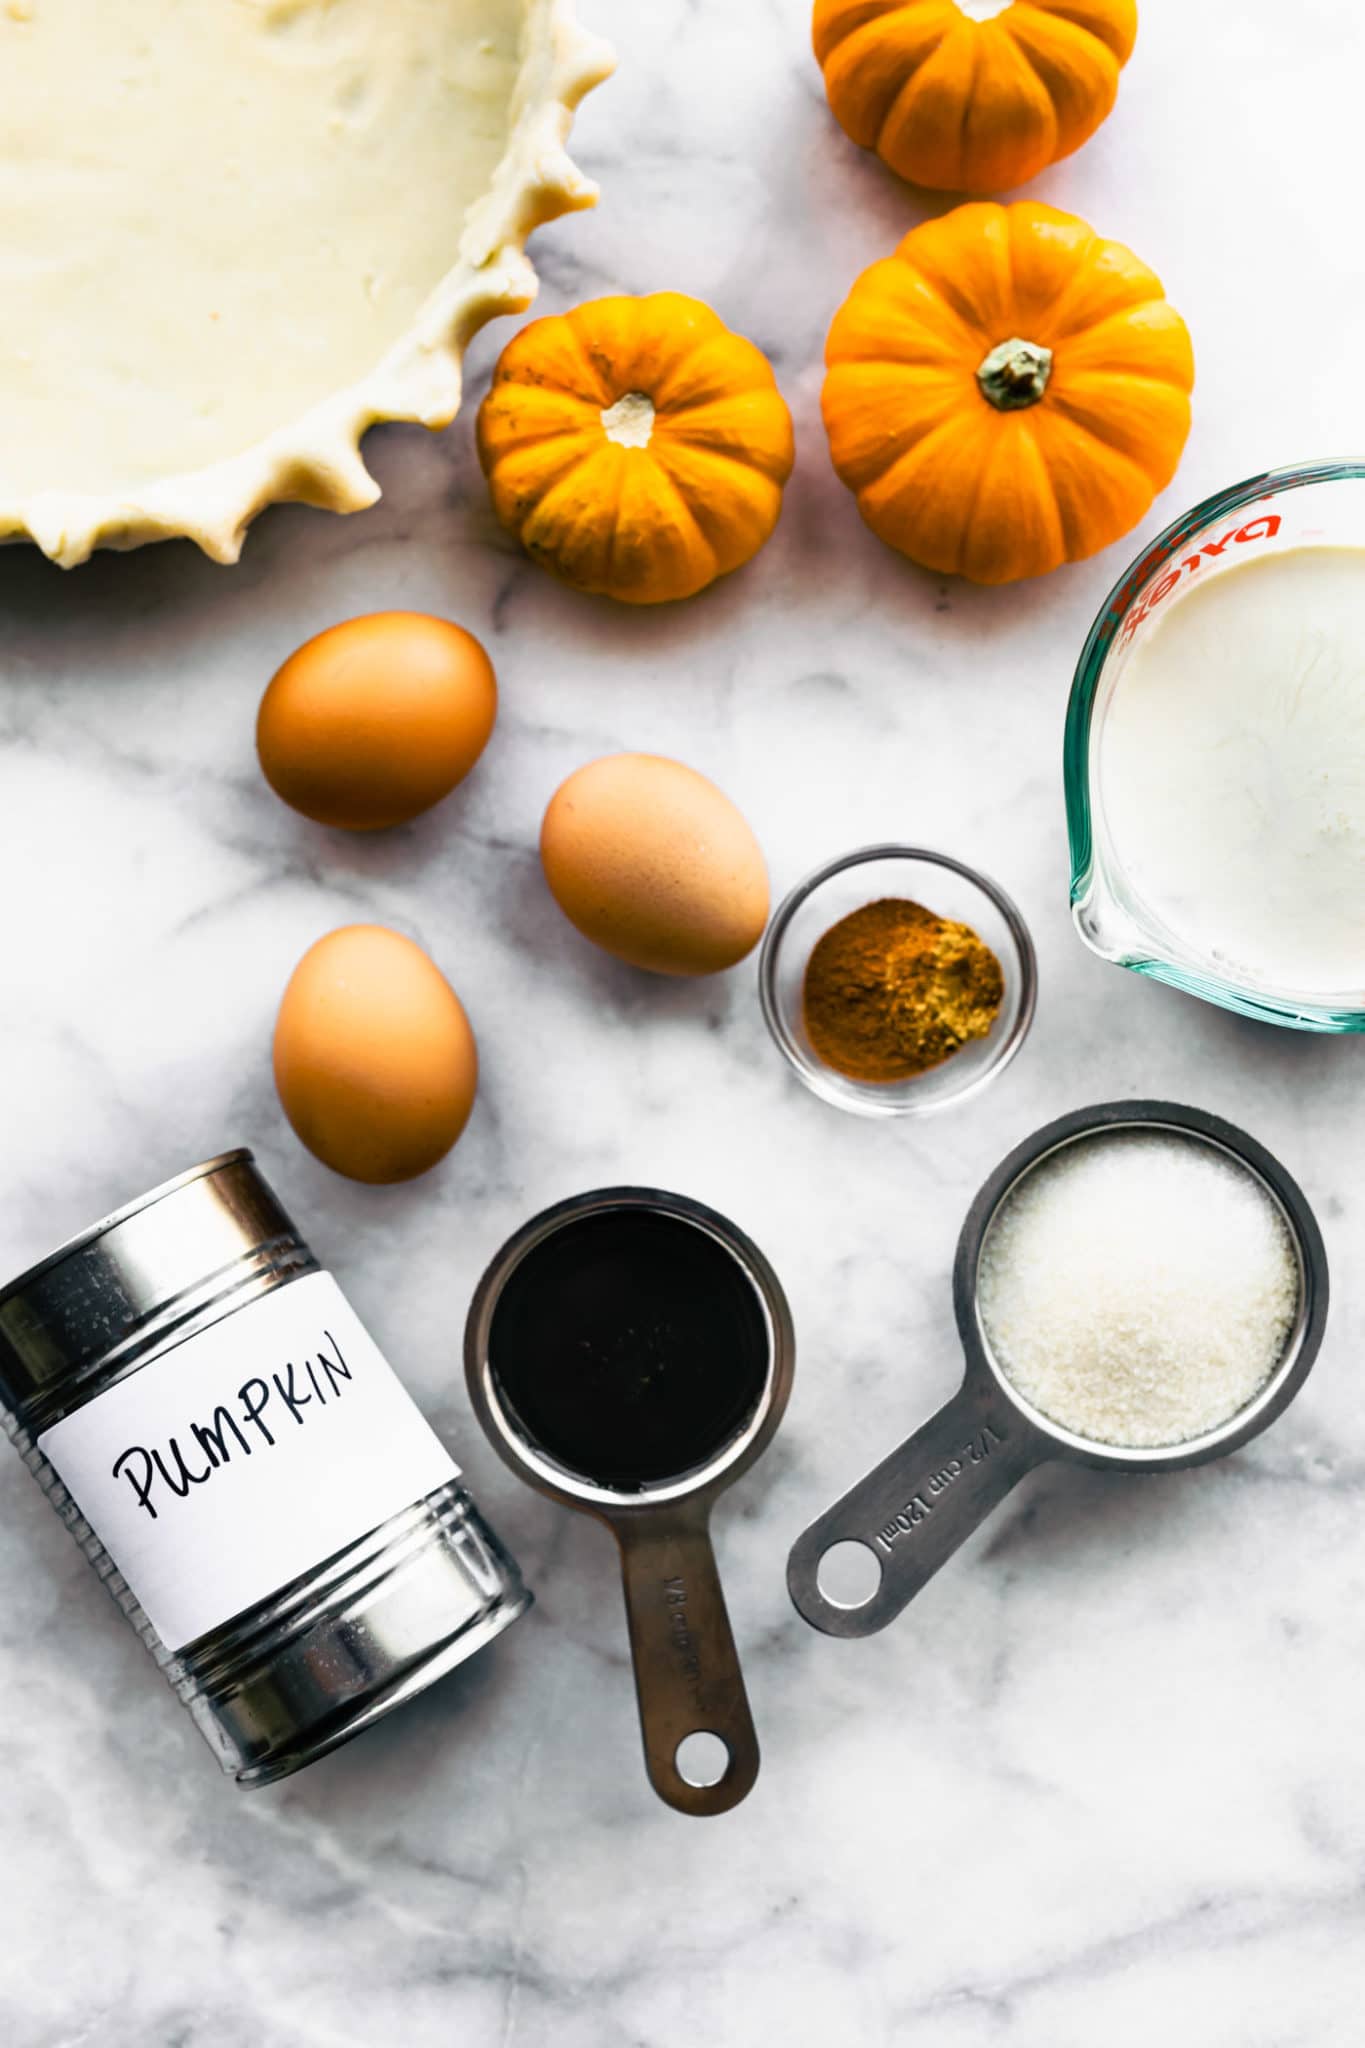
For the Filling
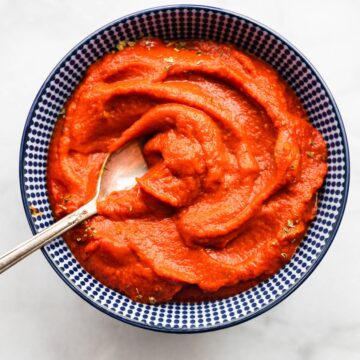
- Pumpkin Puree – Make sure to use pure pumpkin puree, not pumpkin pie filling.
- Large Eggs – not only are they full of protein and healthy fats, but eggs also act as a binder holding all of the ingredients together.
- Non-Dairy Milk – both almond and oat milk will work for this pie. However, for an extra creamy texture, replace ½ of the non-dairy milk with non-dairy cream! Or, use full-fat coconut milk for an extra rich flavor.
- Maple Syrup – Maple syrup adds a hint of sweetness and maple flavor to help balance out the pumpkin taste. If you prefer, honey may be used but the taste will be slightly sweeter.
- Sugar – If preferred, feel free to use a sugar substitute instead.
- Arrowroot Starch – It’s easy to digest and offers nutritional benefits like folate, phosphorus, and iron. In this pie, arrowroot enhances the texture and flavor without the need for flour. If you prefer, you can use cornstarch instead, which gives a slightly more custard-like texture but has a starchier flavor compared to arrowroot. Both options work great!
- Spices – Cinnamon, nutmeg, ground ginger, and kosher salt create the warm pumpkin pie flavor we love!
Ingredient Swap: Feel free to use pumpkin pie spice instead.
Gluten-Free Crust Instructions
- Combine. Place part of the flour in a food processor with a blade attachment. (See the tips above if you don’t have a food processor!) Sprinkle the frozen butter cubes over the flour. Cover the butter with the remaining flour, sugar, and salt. Then, pulse in short bouts until the butter breaks down into pieces. This usually takes about 25 pulses!
- Mix. Drizzle in ice water, and pulse again for about 10 to 12 seconds each time until the mixture turns light yellow in color and has a crumbly texture. Scarpe down the sides as needed, and be careful not to overmix the batter!


Tip: If the dough seems too dry, add two tablespoons more ice water, and pulse just enough to combine.
- Shape. Mold the dough into a ball being careful not to overwork it. Flatten it into a disc, and tightly wrap it with plastic wrap. Then, place it in the fridge to chill for at least an hour. Bring it to room temperature when you’re ready to use.
- Roll. Lightly flour a clean work surface, and sprinkle a little flour on top of the dough. Or, roll it between two pieces of plastic wrap. Roll the dough in all directions until it’s roughly ¼ to ⅛ inch thick.
Tip: If the dough cracks, wet your fingers with cold water, and use the extra dough to patch up any spots, rolling over the cracks as needed. It’ll be as good as new!
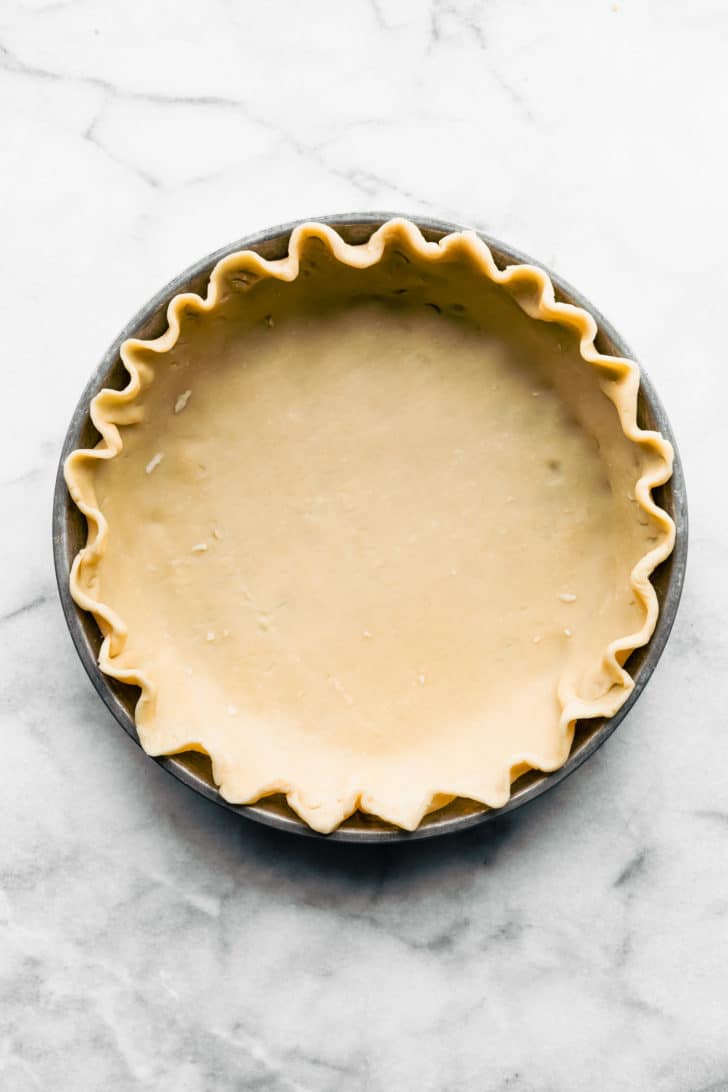
- Transfer. Gently roll the pastry so it wraps around a rolling pin and lay it on top of a pie pan or shell. Remove any excess, and flute the dough.

- Par-bake. Line the pie crust with parchment paper, place two pieces over the pie crust, and fill it with pie weights. Whisk the egg or egg yolk in a small bowl with water or milk. Then, place the crust in a preheated oven for 10 ten minutes. Carefully remove the pie weights and parchment paper, and prick the bottom of the crust with a fork. Just be careful not to pierce it all the way through! Brush the base and sides with the egg wash, avoiding the fluted edge. Finally, return the crust to the oven, and bake just until the bottom is golden brown.
- Chill. Once baked, transfer the crust to the fridge to chill. Otherwise, you risk your pie becoming soggy!
Make-Ahead Tip: You can freeze the unbaked pie dough once you’ve shaped it into disks. Wrap the dough with plastic freezer wrap. Then, place the dough into a freezer bag. To use, place the frozen dough in the refrigerator (thawing will take a few hours), and roll it out as usual.
Pie Filling Instructions
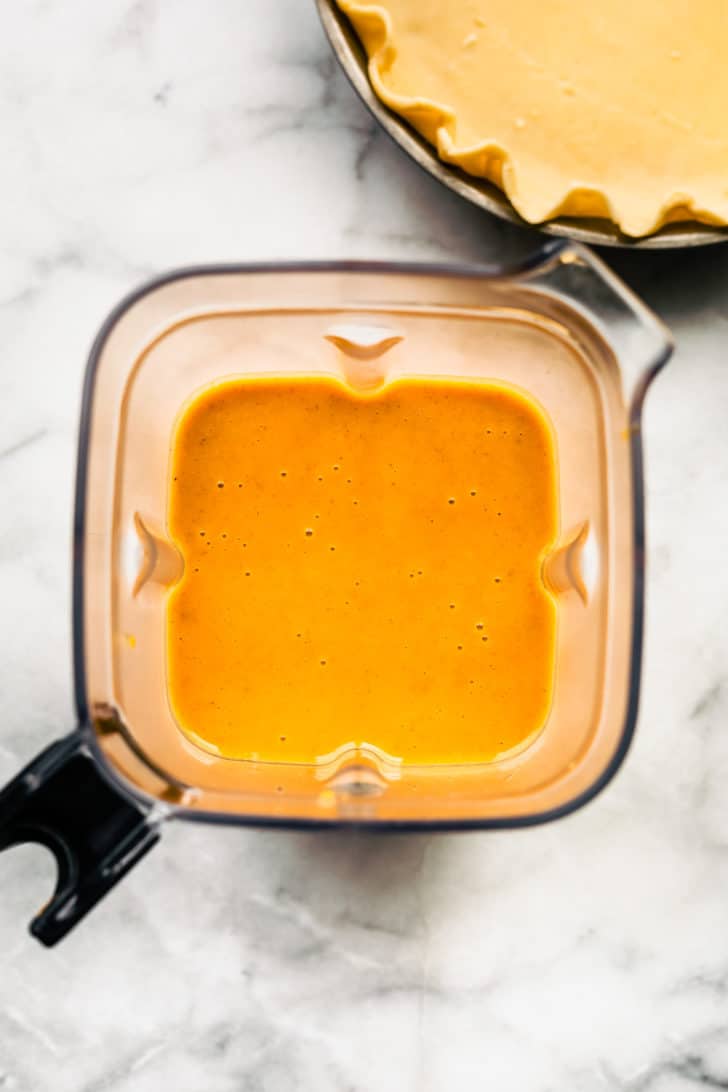
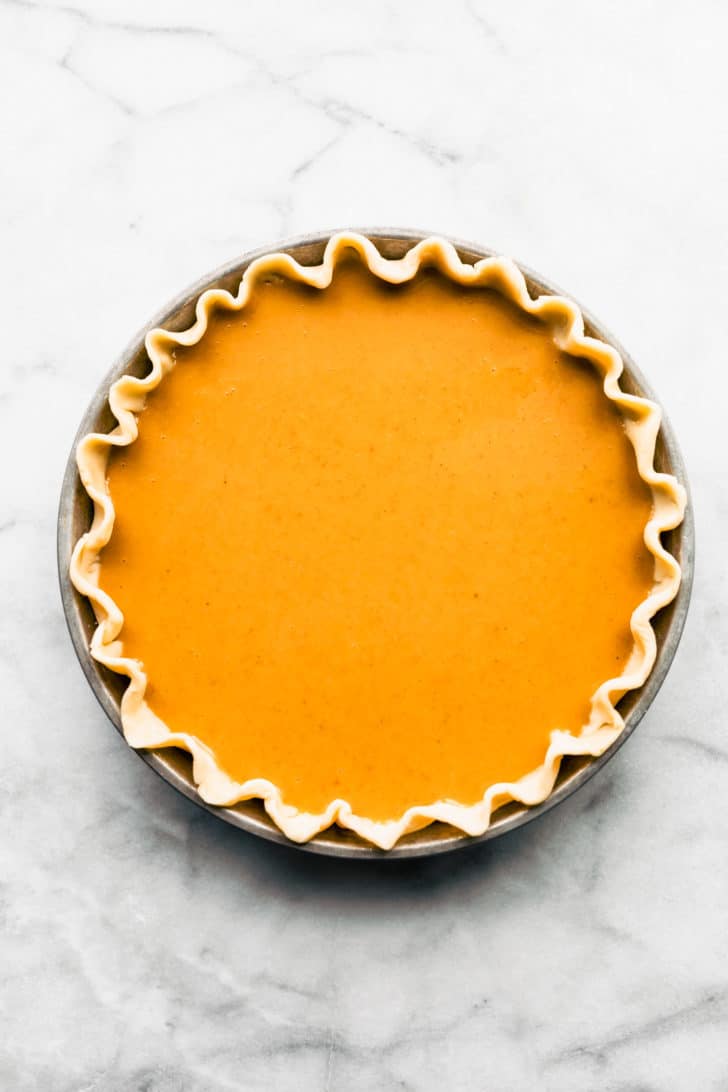
- Combine. Whisk all the filling ingredients in a large bowl until smooth. Then, pour the mixture into the cooled pie shell.
- Bake. Transfer your gluten-free pumpkin pie to the oven, and bake for 10 minutes. Then, reduce the temperature, and continue to bake until the center is set and a knife inserted into the center comes out clean.
Pro-Tip: If the crust begins to brown too quickly, cover the edges with aluminum foil or use a pie crust shield, and continue to bake.
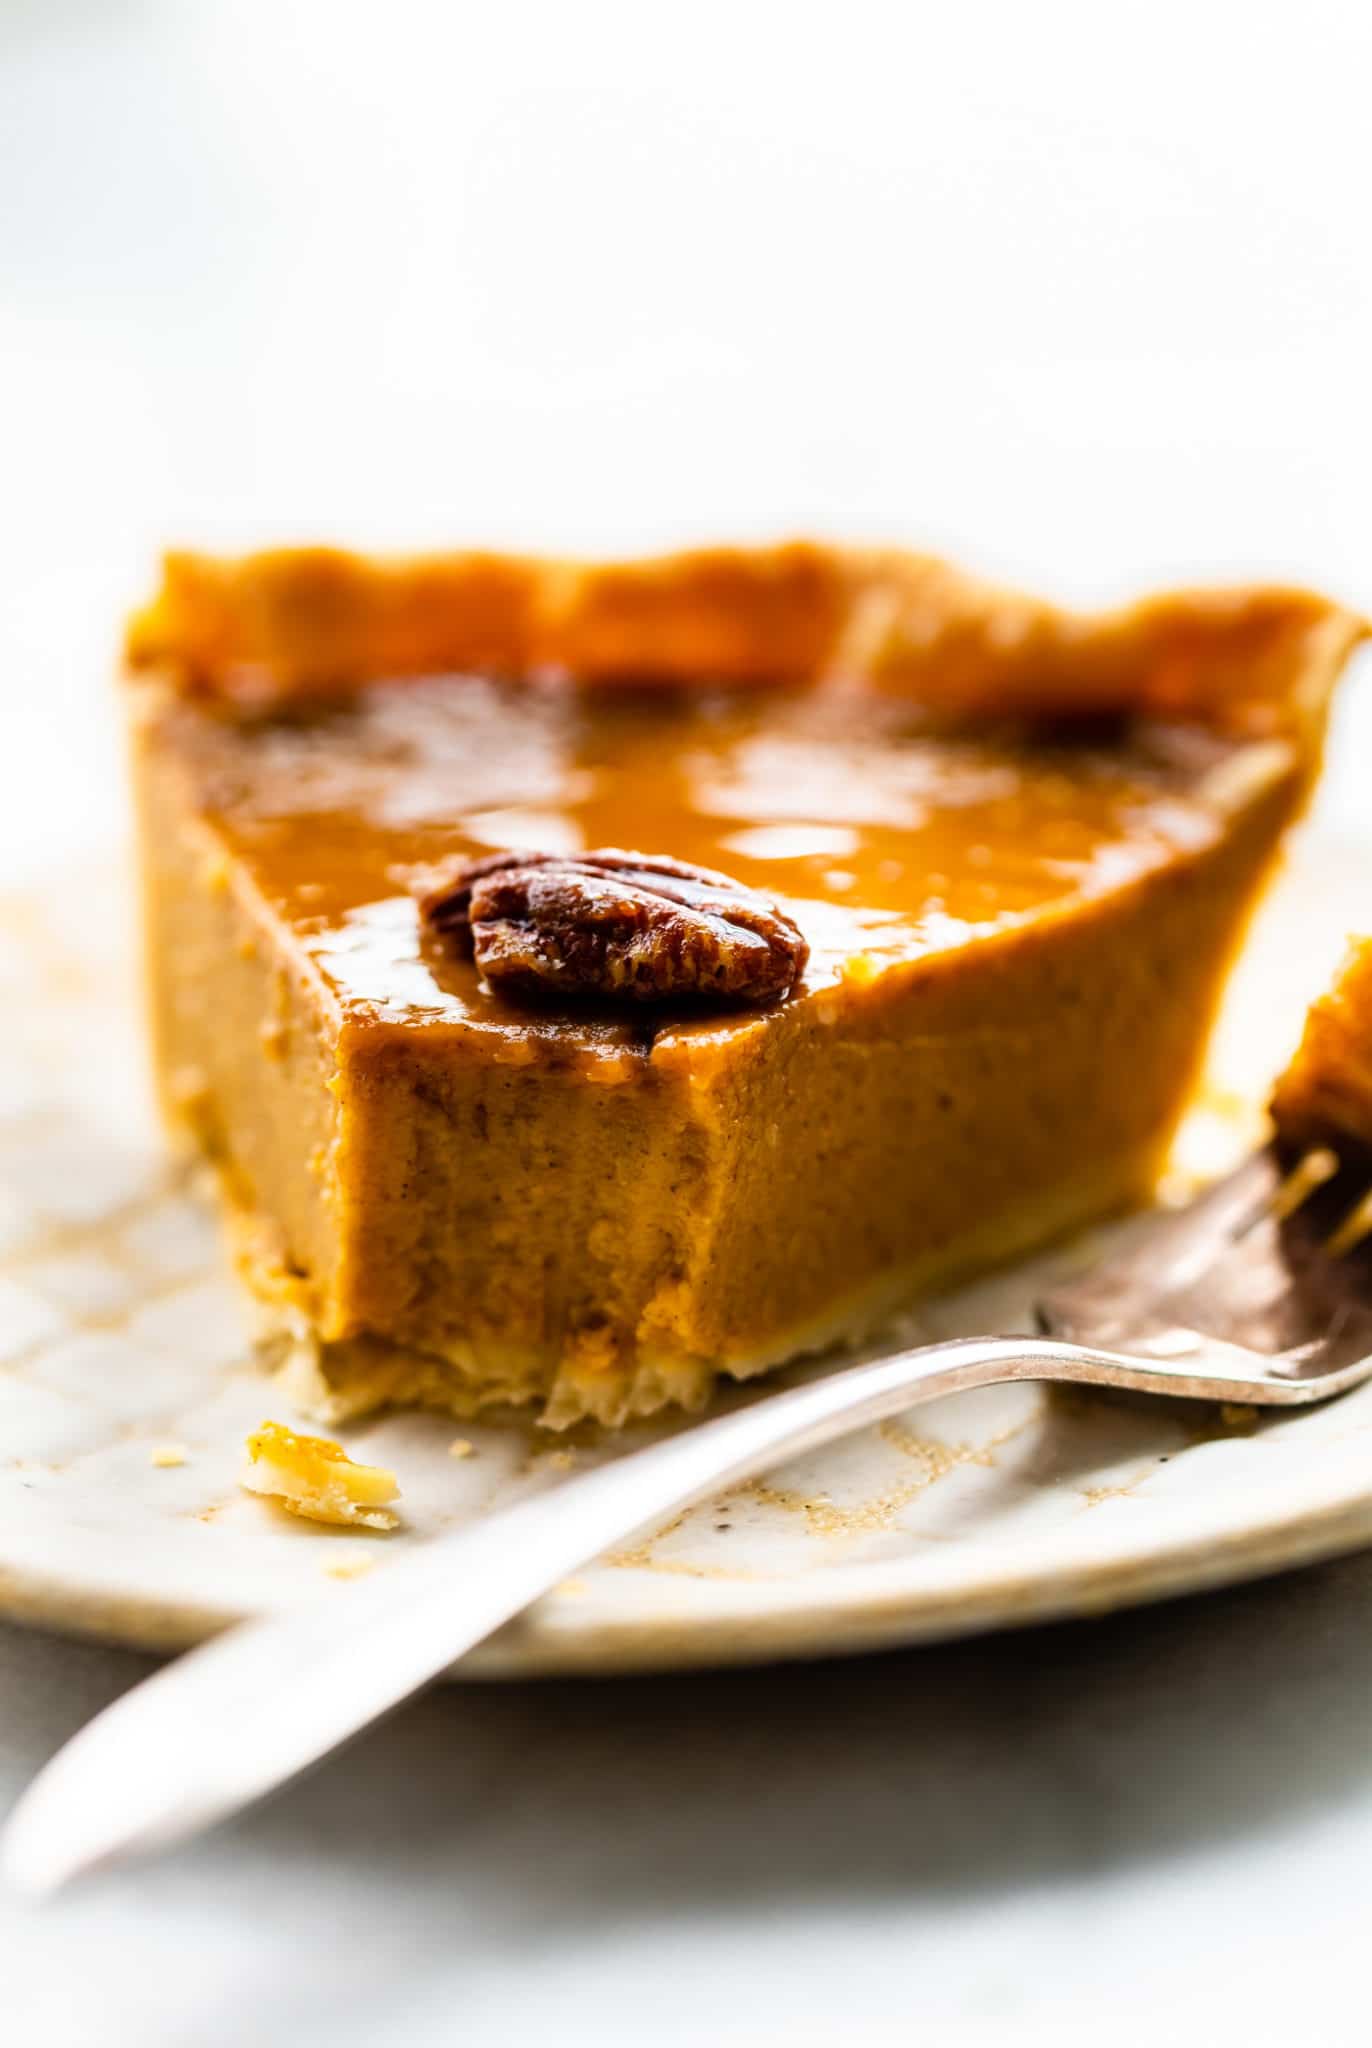
- Cool. Let your pie cool for at least two hours before serving. I know it’s hard to wait but trust me! It’s key to preventing a crumbly pie.
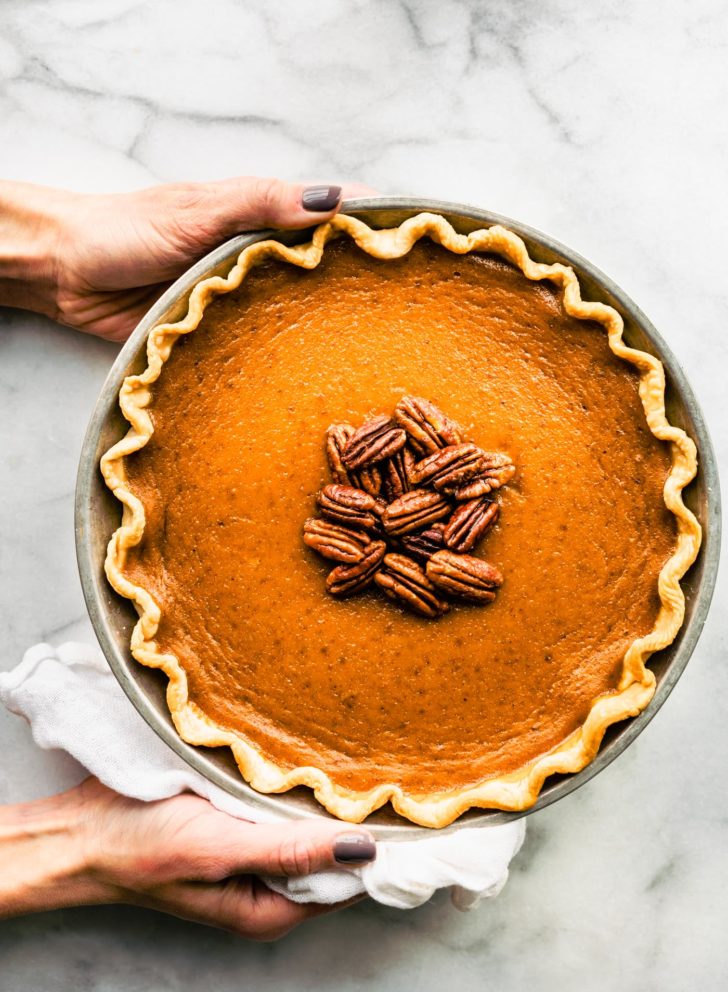
- Serve. Enjoy your gluten-free pumpkin pie topped with glazed nuts, coconut whip, or dairy-free vanilla ice cream!
More of Our Favorite
Gluten-Free Pie Recipes
Common Questions
While not technically necessary, par-baking pie crust is a great option for those who prefer a more golden and crispy crust rather than softer, more buttery textures. Par baking is best when a pie’s filling takes less time to bake than the crust in recipes like frozen pies, quiche, and custards.
Once your gluten free pumpkin pie has cooled, wrap it in plastic or place it in an airtight container, and store it in the fridge for up to 3-4 days.
Yes! You can easily freeze homemade pumpkin pie for up to 1 month. To do so, let it cool completely, wrap it up with plastic wrap, cover it again with tin foil, and place it in the freezer.
To serve: Let your pie defrost in the refrigerator for several hours or overnight.
Gluten Free Pumpkin Pie Recipe
- Total Time: 2 hour 30 minutes
- Yield: 7–8 servings 1x
- Diet: Gluten Free
Description
Quick and easy to make this classic gluten free pumpkin pie has all the traditional flavor you love with simple dairy free ingredients for a delicious pie the whole family can enjoy!
Ingredients
For the Pie Crust (See notes for quick alternatives and make-ahead tips):
- 1 ½ cup gluten-free all-purpose flour (195 -200 grams)
- ½ tsp kosher salt
- ½ tsp xanthan gum (optional and only if your flour doesn’t already include it)
- ½ cup butter or plant based butter, cold
- 6 –8 Tablespoons ice water
- Egg wash (1 large egg mixed with 1 tablespoon water or non dairy milk)
For the Filling:
- 15 ounce can pure pumpkin puree
- 3 large eggs (See note*)
- 1 cup creamy non-dairy milk or canned coconut milk for creamier filling
- ½ cup maple syrup
- ½ cup sugar or granulated sugar substitute (Ex: monk fruit sweetener)
- 2 Tablespoons arrowroot starch
- ½ teaspoon kosher salt
- 1 teaspoon cinnamon
- ¼ teaspoon nutmeg
- ¼ teaspoon ground ginger
- Optional: 2 Tablespoons liquor such as amaretto or brandy
- Optional: ¼ cup glazed nut halves for topping
Instructions
For the Pie Crust:
- In a large bowl, mix together the gluten-free flour, salt, and xanthan gum. Using a large cheese grater, grate the butter into the flour. Using a fork or dough blender, work the dough until crumbly and mealy. Don’t overwork the batter.
- Evenly sprinkle the ice water in the butter and flour mixture, use a spatula to mix in between adding the cold water. If the batter feels too dry to shape into a ball, add an additional 2- 3 Tablespoons of ice water, and mix until just combined.
- Form the dough into a single ball, and flatten it into a disk.
- Wrap the dough in plastic wrap, and let it chill in the refrigerator for 1 hour up to 3 days.
- Once the dough has chilled, preheat the oven to 375 degrees Fahrenheit. Remove the dough from the refrigerator and allow the dough to rest at room temperature for 10 to 15 minutes before rolling.
- On a lightly floured surface, sprinkle a little flour on top of the dough and roll between two pieces of plastic wrap.
- Roll out the dough into a large oval or circle big enough to drop over an 8 or 9-inch pie pan. About ¼ to ⅛ inch thick.
- Carefully drap the dough over the pie pan, and gently press it down to fit. Trim the excess dough, and crimp the edges between two fingers or with a fork.
- Par-bake the crust: Line the pie crust with parchment paper. Place 2 pieces of parchment paper over the pie crust then fill with pie weights. In a small bowl, whisk together 1 egg or egg yolk with 1 Tablespoon water or milk and set aside. Place the pie crust in the preheated oven for 10 minutes then remove from the oven. Carefully remove the pie weights and parchment paper. Prick the bottom of the crust with a fork (don’t pierce through). Brush the base and sides of the crust with the egg wash (not the fluted edge). Return the pie crust to the oven for 7-8 minutes or until the bottom is golden brown.
- Place the parbaked pie crust in the refrigerator while preparing the filling.
For the Filling:
- Preheat the oven to 400F. Place all the filling ingredients in a bowl, and whisk until smooth.
- Pour the filling into the par-baked pie shell.
- Place the pie in the oven for 10 minutes. Then, reduce the temperature to 350 degrees Fahrenheit, and let it bake for another 50-60 minutes or until a knife can be inserted 1 inch from the crust and comes out clean. Tip – After half way through baking, be sure to cover the edges of the crust with aluminum foil to prevent over browning.
- Let the pie cool or chill in the fridge for at least 2 hours before serving. Garnish as desired. Store the leftover pie, covered, in the refrigerator for up to 4 days.
Notes
Easy Pie Crust Substitutes – For quick and easy prep, try using my homemade gluten free pie crust with a food processor. You may also use a pre-made pie crust mix or frozen gluten-free pie shells. Par baking is optional but it does prevent the crust from becoming soggy.
Make-Ahead Tip – You can freeze the unbaked pie dough once you’ve shaped it into disks. Wrap the dough with plastic freezer wrap. Then, place the dough into a freezer bag. To use, place the frozen dough in the refrigerator (thawing will take a few hours), and roll it out as usual.
* For both Dairy-Free and Egg-Free Options see our Vegan Pumpkin Pie Recipe (also gluten free).
- Prep Time: 30 minutes if par baking
- chill time: 1 hour
- Cook Time: 1 hour
- Category: Dessert
- Method: Baking
- Cuisine: American
Nutrition
- Serving Size: 1 slice
- Calories: 331
- Sugar: 23 g
- Sodium: 127.2 mg
- Fat: 14.8 g
- Saturated Fat: 7.2 g
- Carbohydrates: 45.5 g
- Fiber: 4.6 g
- Protein: 5.2 g
- Cholesterol: 89.1 mg


what .can I substitute for eggs?
Hi Ruby! You are in luck, we have a vegan gluten free pumpkin pie recipe coming out today! Same crust as the gluten free, just egg free filling. https://www.cottercrunch.com/vegan-pumpkin-pie-recipe/
This pie really is delicious. It drew rave reviews from my crew!
awesome! Which version did you make?
Delicious! My family loves this pie so much!
So glad! Thanks for feedback!